Sunday, January 31, 2016

I Like Big Prints + I Cannot Lie

I hope all of you have had as gorgeous of a Sunday as we've had here in the SouthEast! It's been a major mood booster, in addition to the fact that we got a BRAND NEW VACUUM! We went and jumped off the deep end...You know I feel just like a kid again. {If you can name that song, you win bonus points}.  No, but truly, this new vacuum has me all giggly and it has definitely gotten all the heart eyes {Dyson cordless for the record}! That's not why I'm posting, I'm just THAT excited about it. Y'all know I love a good clean, so this little intro should come as no surprise to you.

Now onto the real reason for this post! 

Since posting the guest room/office makeover , I've gotten several questions about the enlarged print over the desk. I have shared before about all of our oversized B+W prints. I am sliiiiightly obsessed. The process is really SO easy and extraordinarily affordable! I'll show you examples of the prints in our home, then I'll explain how you can get them for yourself for SUPER cheap in one afternoon!!

These next few hang in our master bedroom {one of each side of the bed + the window on the gallery wall}. I plan to modge podge {which just autocorrected to "dodge lodge"-ha!} these to the canvas that they are currently glued to {only on the corners}. I didn't want to do anything permanent until I had them hanging for a few days to be sure I liked their location, which I have decided that I do. I'm very noncommittal and my husband has kindly requested that I not add anymore nail holes to our already holy walls. :)


The print of my husband + Em came out a lot darker than the one of me + her, which kind of bugs me, but it's okay. I'll deal...eventually.


 I got two old window frames for $10 each from a friend who lives out of state. Her neighbor sells them + she snagged me two. All I can say is, it's a good thing her neighbor is not my neighbor because all the windows would be officially sold, more than likely. I love these things! The one below hangs in our master bedroom as well. The other, which will be seen if you continue reading, hangs in our living room.


{Close up of the one above}

 This next one is actually just stapled to an actual 18 x 24" canvas {that I happened to find at Goodwill for $1}. You would never know it is just a thin piece of paper attached to the canvas via staples on the back. HA, trickery at it's finest. {This was a photo from our newborn shoot-so LONG ago! *cue crocodile tears* }


 The glare on these next couple was completely unavoidable thanks to the light that shines from the front door. I tried to eliminate it best I could, but I could not for the life of me get a decent picture, so, I'm sorry about the reflections and the graininess. Hopefully, you get the idea. {And yes, that's our model baby at her first birthday shoot. We've been told she resembles the Gerber baby, and no, she's not actually a model, we just call her that because to us she's the most beautiful girl in the world.}

Okay, so now you want to know how I got these huge portraits each for $5 or less {not including frames} in just five easy steps? 

O N E, determine the size you would like for your prints. If you plan to adhere them to canvas, you will want to add an inch or two to account for the sides. Also, the prints will be printed with a small white border around the edges. Also, be sure to measure them based on whether you are going to want them printed landscape or portrait.

T W O, contact the nearest Office Max/Depot {or Staples} store + ask to speak to the print services department. Tell them you would like to send in some pictures with dimensions via e-mail to be printed as engineer {or architectural} size prints. Ask them for the e-mail address in which to send your pictures. Then, thank them kindly. *You can also ask approximately how much the total cost will be, but normally in my experience {depending on the size} they're ~ $2-4 per print* I have never printed larger than 24 x 36", so if you need larger, you'll want to ask how large they can print them.

T H R E E, determine which pictures you want to use, then write an e-mail similar to this one. {Yes, this is part of a real e-mail that I sent to print services. I deleted personal information for privacy}.

{Included in the email was the following: the size of the prints desired: 18x24 for example, the phone number at which I could be reached, and the time + day that I would be picking them up}. 
**IF THEY ARE PROFESSIONAL PICTURES, BE SURE TO ATTACH THE PRINT RELEASE or they will NOT print your pictures**

F O U R, pick up your prints + inspect them to be sure they were printed correctly {portrait vs. landscape, etc}. Be sure to be specific about all of the dimensions + print style in your email {see step 2}

F I V E, frame or attach to canvas {or wood}. If you need tutorials on how to do that, there are lots on Pinterest that are better than what I could provide. Hang said frame or canvas, then step back and admire your insanely cheap oversized prints! :)

For the record, I have never paid more than $7 total at any time and that was for TWO 24 x 36" prints. The larger the prints the higher the cost, but really, it's still SO cheap compared to what you'll pay if you go through a photo printing company. They will ONLY print these in B+W, so if you want color, you're out of luck as far as I know. B + W is so classic though, so you can't go wrong! If you use this and it works out, please come back and let me know or post a picture to Instagram + tag me {littlethriftychic}. 

Thanks for reading! Now, go get to it! XO!


Friday, January 29, 2016

Before and Afters {from 2011 to now}


My style has evolved quite a bit since we moved into our house 5 years ago. When we originally moved in, we were coming from a one bedroom apartment to a 3 bedroom house. There was a lot more space than we were accustomed to, which meant more spaces to fill and ultimately  decorate. I have always loved interior decorating, but you would never really know if you looked at our house from 2011-2013 because it was filled with hand-me-down and super mismatched furniture. It has taken me F I V E years to get our house to a place where I'm pretty content with it. I'm such a homebody, as you guys know from previous posts, that the space around me plays such an impact in my life, that I need it to be a place I enjoy aesthetically. It's not everybody's thing, but it's my thing, so there.

Also, let me throw this out there while we're at it. If you follow me on Instagram, you probably noticed that I have been posting far more pictures of our home {and less of Emerson}, and even posting multiple times daily. {If that annoys you, please feel free to unfollow me. It won't hurt my feelings}. I've done so because I have started following more home decor/DIY/mama bloggers on IG and they often ask their followers to participate in a variety of hashtags and "games" if you will. It's fun for me and a cool way for me to interact with other bloggers/DIY obsessed women that I wouldn't  interact with otherwise. One of the hashtag challenges was to post a "before and after" of something/somewhere in your house. I posted this photo:
The top is the "before" of our back room. It gets great light, but before it had dark red brick on two full walls {which made the room appear SO dark despite the large windows}, brown carpet and a black wood stove. The bottom picture is the "after" of the same room. I whitewashed the brick walls, added a light gray + white area rug ON TOP of the carpet {wasn't sure I'd like it, but I actually really do...like a lot}. I added different window coverings, and slowly brought in "new" {aka Craigslisted} furniture to fill the space. The wood stove is still in there, it's just disguised with black bookcases and a television. For more pictures and updates on this space, click on over to my most recent post that tours our playroom. This is definitely one of the most dramatic changes in our house, in my opinion, if not simply for the bright and cheeriness of it compared to the previous gloom and doom. 

In keeping with the before and after spirit of today, I thought it would be fun to share several before and afters from our home. Everywhere from the living + dining room, to the bathroom, to each bedroom. I think it's safe to say that every single room has gone through some pretty decent changes within the past 5 years. Shoot, paint alone changes a room completely. Can I get an amen?

Before and after pictures 
{I think you'll be able to tell which is the before and which is the after, so I will not commentate too much}.

Let me preface these by saying, EVERY SINGLE ROOM in our house has been painted since we moved in. The entire {yes, even the closets!!} house was painted a color with the title "mushroom" in it. So, if that isn't a hint that you should repaint, I don't know what is. It was like a yellowy-beigey-cream color. It wasn't totally awful, but it wasn't us at all, and for some reason it looked SO yellow in all the rooms! Thank God paint is an easy fix! Since being painted, the living room, dining room, and front foyer are Benjamin Moore's Revere Pewter. The kitchen + main bath are BM Gettysburg grey (it's a greenish-grey}. The master + guest bedroom/office are BM Smoked Oyster. Emerson's nursery is a random grey color {can't remember the title}, which is also the same color as the 2 walls around the windows in the playroom. We have other rooms not shown here that have BM White Dove and Valspar Morning Zen {pale green}.

 First, a close up of the picture I showed above.


Guest room turned nursery for Emerson

                     
{I made that E on the wall for $8, ask me how, if you're interested}

This makes it in the TOP 3 favorites: the fireplace in the living room.


MY MOST FAVORITE before and after is definitely our dining room! It literally looks like a completely different space.
Too many dark colors! The room looks so tiny!

Below is a the only shot of the foyer from "before" that I could find in my hundreds of pictures {standing in living room}.

{from a different view, but same area}

 {that lime green console makes another appearance below-different shade of green though-I had a MAJOR thing for lime green when we first moved in...yikes!}


Living room shot of the couch + side table
{and blurry at that. These before pictures were taken before quality iPhone cameras}.

Where's Emerson? ;)

The Guest room/Office
{All paneling in here guys. MAJOR HAND CRAMPS thanks to all those crevices}. 


Master bedroom
 Don't have a full shot, sorry!
{DIY headboard + canvases}

Eat-in portion of the kitchen
The kitchen has been painted twice since 2011. 
First it was Valspar's "Breezy" {blue}, then it moved to BM Ghettysburg grey, just recently.

 Main bath
{this is not the very first "before" but it's the only one that I can find a picture of on the computer.}

{I literally just snapped this picture-no edits- below because I couldn't find a recent one-see the next picture for  a truer color}.
{I painted the existing cabinet a very dark brown-almost black instead of buying a new one}.


Well, there you have it, my favorite {and most of} the before and afters in our home. It's been a long, sweat-inducing {sometimes tear-inducing} process, but I absolutely LOVE our home now and it's hard to imagine ever leaving, though I know that time will come and I'll just have a new blank canvas to work with! What's five more years of my life, eh?

Hope you enjoyed and if you're stuck with hand-me-down furniture and mismatched items, don't worry, there's hope!! If I can do it, so can you! Just think outside the box and get creative. Also, be patient. Changes don't happen overnight, as hard as I may have tried to make them happen that way, trust me, they did not.

So, what does your style say about you? I like to think mine says calm, organized, and pretty comfortable in it's own skin, just like me. :) Hope this helps give you some style inspiration! XO!


Wednesday, January 27, 2016

Less stuff means...


This should be my motto for two reasons: I love when my house is clean + organized {not messy} and I love when I can find storage solutions that work well in our home. I realize that not everyone out there thrives on organization and clutter-free-ness {made that up}, but I'd be willing to bet that if everyone did, they'd be happier and less stressed. 

I don't handle stress very well {don't know many people that do, actually}. I take that back; I do when it comes to deadlines, but otherwise not so much.  I hate what it does to my brain, my body, and my attention span. I get anxious when toys aren't put away after they've been used. I get anxious when there are crumbs or God-knows what else all over the floor {don't even get me started on my hair that falls out everywhere}. I tend to be an overly-anxious person, it's one of my severe weakness. I am really trying to work on it though, making myself more aware of when I get anxious over petty things. Nevertheless, if I can create a home that is as stress-free as possible, I'm all in because that means less anxiety for me and a calmer, happier Chelsea for everyone else.
Today I thought I'd share Emerson's playroom and how it now has LESS STUFF. I've started following some new bloggers on IG and they've really encouraged me to {maybe not literally, but through their blogs and feeds} to create an environment that doesn't focus so much on more stuff, as it does on enjoying and repurposing  the stuff that we already own. I can admit that I've always been a "well, if it's on sale, then I can probably use it" type of shopper. Since quitting my job, I've had to align my mindset with our budget now. It's actually somewhat refreshing to buy LESS STUFF and be more creative with what I have. 

I have purged almost our entire house, with the exception of Emerson's clothing/accessories {ha ha ha}, Trey's clothing/shoes, the garage randomness, and my teaching supplies {which are currently all stored in the attic + I'm far too much of a wimp to sift through it all up there whilst it's freezing outside}. All in all, I've made great progress. Just recently, I posted to IG that my mission was Emerson's toys. That same day, I took an entire trunk load {and I have an SUV} to Goodwill. It was mostly toys/baby gear, but it was also books, random home decor that I never use anymore, and a few odds + ends. I've also recently had some luck selling things on Craigslist just to get them OUT of the house and/or garage. So, I recommend trying to sell some of the bigger items.

Back to the room at hand, Emerson's play room. We are very blessed that we have space in our house that can be dedicated solely to housing the majority of Emerson's belongings. With that being said, she does have a basket of toys in her room that houses wooden blocks/train set + a small keyboard, along with her rain gutter bookshelves that hold lots of books.  She has one basket in the living room that houses all of her beloved rubber balls, her sensory sticks that I made, and a couple of other beloved toys/books. Otherwise EVERYTHING else is housed in the playroom. I LOVE THAT. This makes it so easy to tidy up before moving on to another room to play AND it keeps toys from being strewn all over the house. If you don't have a separate room, consider bookshelves with baskets or crates, or even wicker baskets {Target or At Home have great ones} make for great hidden storage. Another option, probably my least favorite simply because of accessibility for the kids, is storage ottomans that have removable lids. Utilize underneath your child's crib or bed using plastic storage bins. There are many ways to "hide" all of the stuff. But, simply put, the best way to not have to "hide" stuff is to ELIMINATE STUFF altogether. I know exactly what toys we own know and it's amazing how much I got rid of and she hasn't even flinched.

So allow me to show you pictures of her playroom {which I've shared before} now that it's all clutter-free. Everything has a place, and for this neat freak, my heart is fluttering. The space is bright and cheery, and gets GREAT light all day, so it's the perfect space for her to play. 
The bookshelves were free {can't remember why or where from}. They were originally brown laminate and I painted them black. I added gray + white wrapping paper behind the shelves to add some visual interest to the inside of the each bookcase {see below}. In case you're wondering what that big stack is going to the ceiling is, it's a wood stove. I disguised it using the bookshelves on either side and by adding magnetic tape to the backs of flashcards and adhering them to the side of the stack. It serves as a "tv stand" currently. It's not ideal, but it works. I also added some framed online printables that I colored myself {it's like therapy}. The rug used to be in Emerson's room. The daybed, which used to be in Emerson's nursery when she was younger, serves as a "couch"in the playroom now {pillows from At Home + fitted sheet from Target}. Also, under the daybed is terrific storage for all of Emerson's larger baby gear {swing, rock-n-play, bumbo seat, etc}. Think outside of the box for seating. We bought this daybed for $100 on Craigslist. Not only does it serve as super comfy seating, but it doubles as a guest bed as well.


The lamps were Target clearance finds, and the white baskets are from Dollar Tree {they were used in my classroom for a while}. Most of Emerson's books are thrift store buys {usually thrift stores sell books 2/$1. In terms of toys here, she has mega Legos {girl ones of course ;)}, a ring stacker, and a Little People train with animals. On the other bookcase is a shape organizer, her "purse"+ dog, her art supplies, and her sand toys. *Not pictured: her mini ball pit that is collapsable*


The table is an IKEA Lack side table that I bought from a friend for $5 when she was moving. I painted the top with chalkboard paint and Emerson LOVES to sit there and draw with "k-alk". I bought the chairs from IKEA for $12 each. The sign was one I made for her first birthday. I also have 2 arts -n- crafts baskets where I keep all of her art supplies. My cousin gave her finger paints for her birthday with extra large brushes. SO cute, but she definitely doesn't get the concept quite yet. Ha.


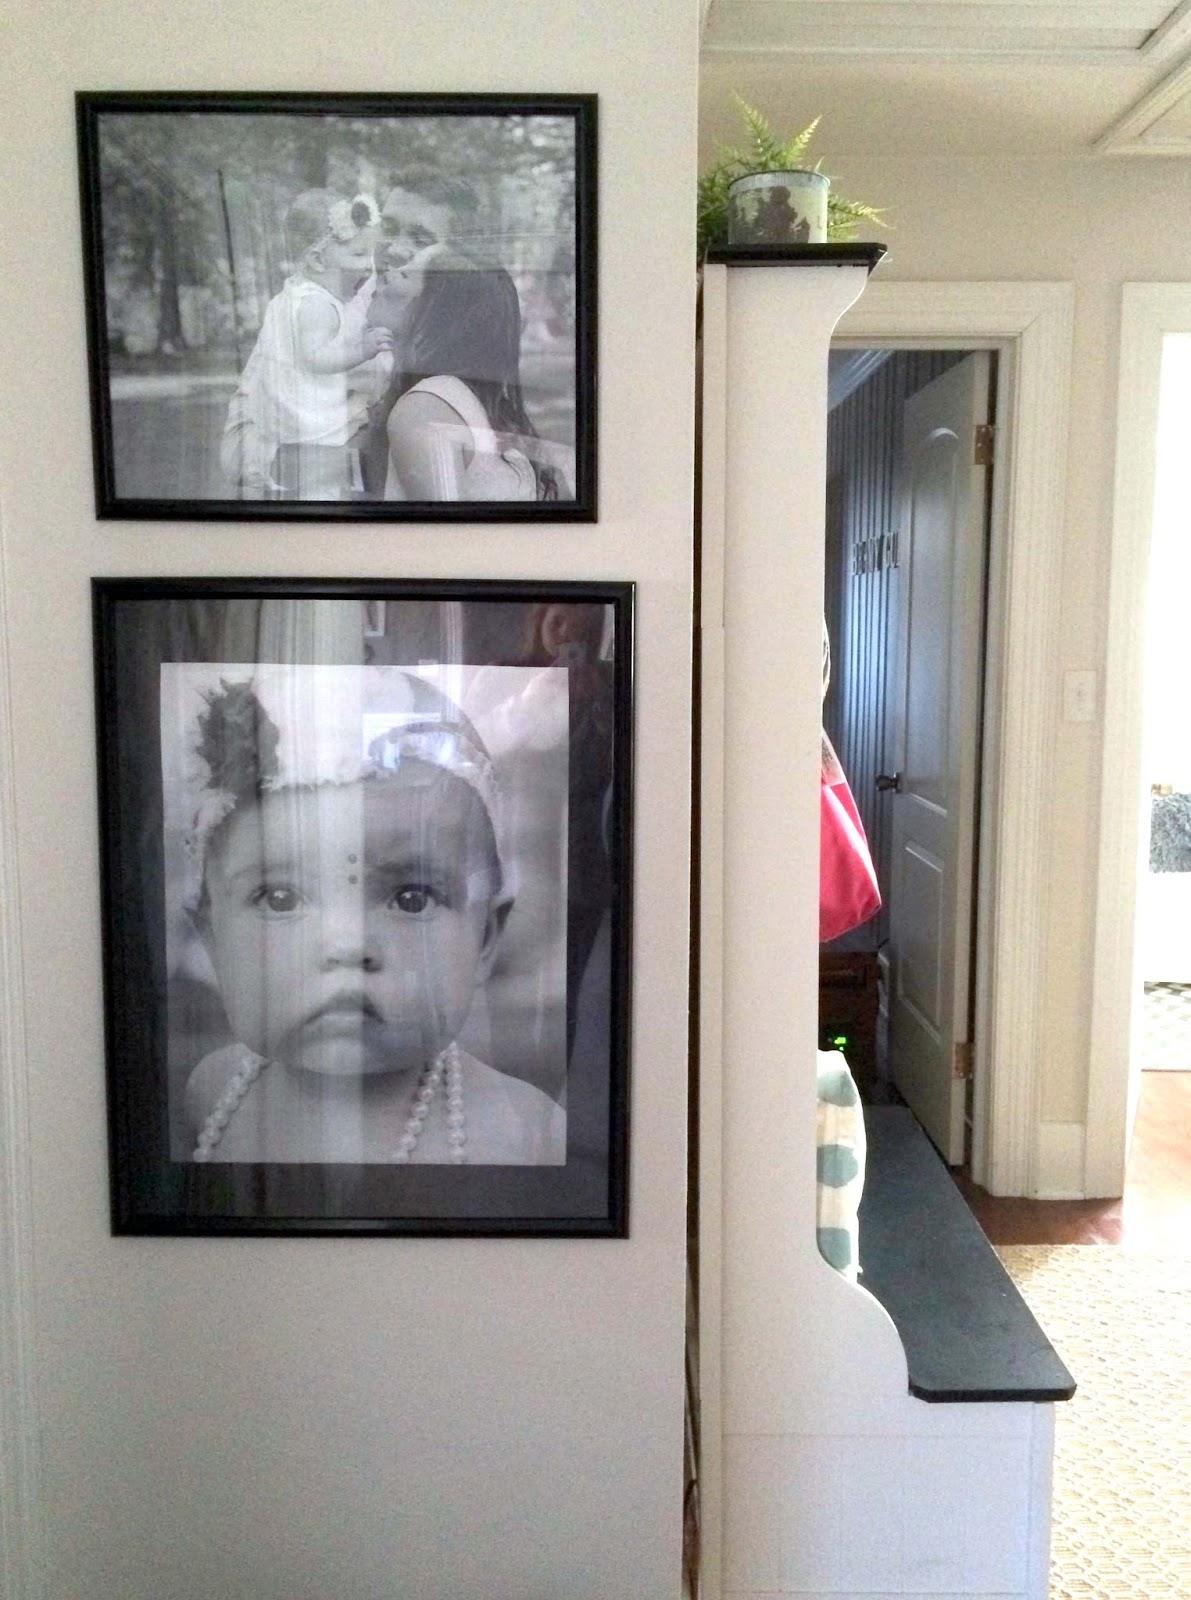
 This pink + white chevron bin was an At Home find and holds Emerson's puzzles. The globe was thrifted and she calls it a "b-aw" {ball}, which she likes to spin. I made the poufs and I made all of the artwork hanging in this room using flashcards from the Target Dollar Spot and/or free online printables. All of the frames were thrifted and spray painted black {if they weren't black to begin with}. DON'T BUY NEW FRAMES PEOPLE. Thrift stores are the jackpot for these and they're super cheap! All you need is a little spray paint and just an ounce of imagination {but really, you don't even need that}.


The black Lazy boy recliner was Trey's only salvaged piece from his used-to-be man cave. He wouldn't let it go. In his defense, it is really comfortable and it has massage features and a heated seat. Y E S, Emerson, I'll sit here while you play. Wake me in 5. ;)

My parents got Emerson this play kitchen for $40 for Christmas at a 2nd hand shop. Real talk: Aside from the green counter tops and the wallpaper border, it's nicer than our real kitchen. She even has stainless steel appliances ;). She has a little tea set + some play food stored in all of those cabinets.

These windows are pretty big, so blinds or window coverings were a little expensive for them, at least for the coverage I wanted. So, I covered them using the temporary paper blinds sold at most home improvement stores, then I layered them with sheer white floor length curtains {Target -originally used in my classroom}. The windows have to be {partially} covered because the neighbor's house is literally about 15 feet, if that, outside of those windows. *eye roll*


I've posted about these before, but I created these using old movie poster frames that I found at Goodwill for $2.50 each. I spray painted them black, added 3 rows of black twine and attached $1 ABC:animal flashcards in pastel colors with mini white clothespins. I did the same on the other one, except I used a couple of animal flashcards and numbers 1-10. Total for these two pieces of wall art was $10 because I already had the twine and spray paint. It was an easy project and could easily be done on a smaller scale using smaller frames.


 I hope you gathered some ideas for how to better store and/or purge your kiddos "STUFF". They really don't need that much. Less mess, less stress! Remember that! Thanks for reading!
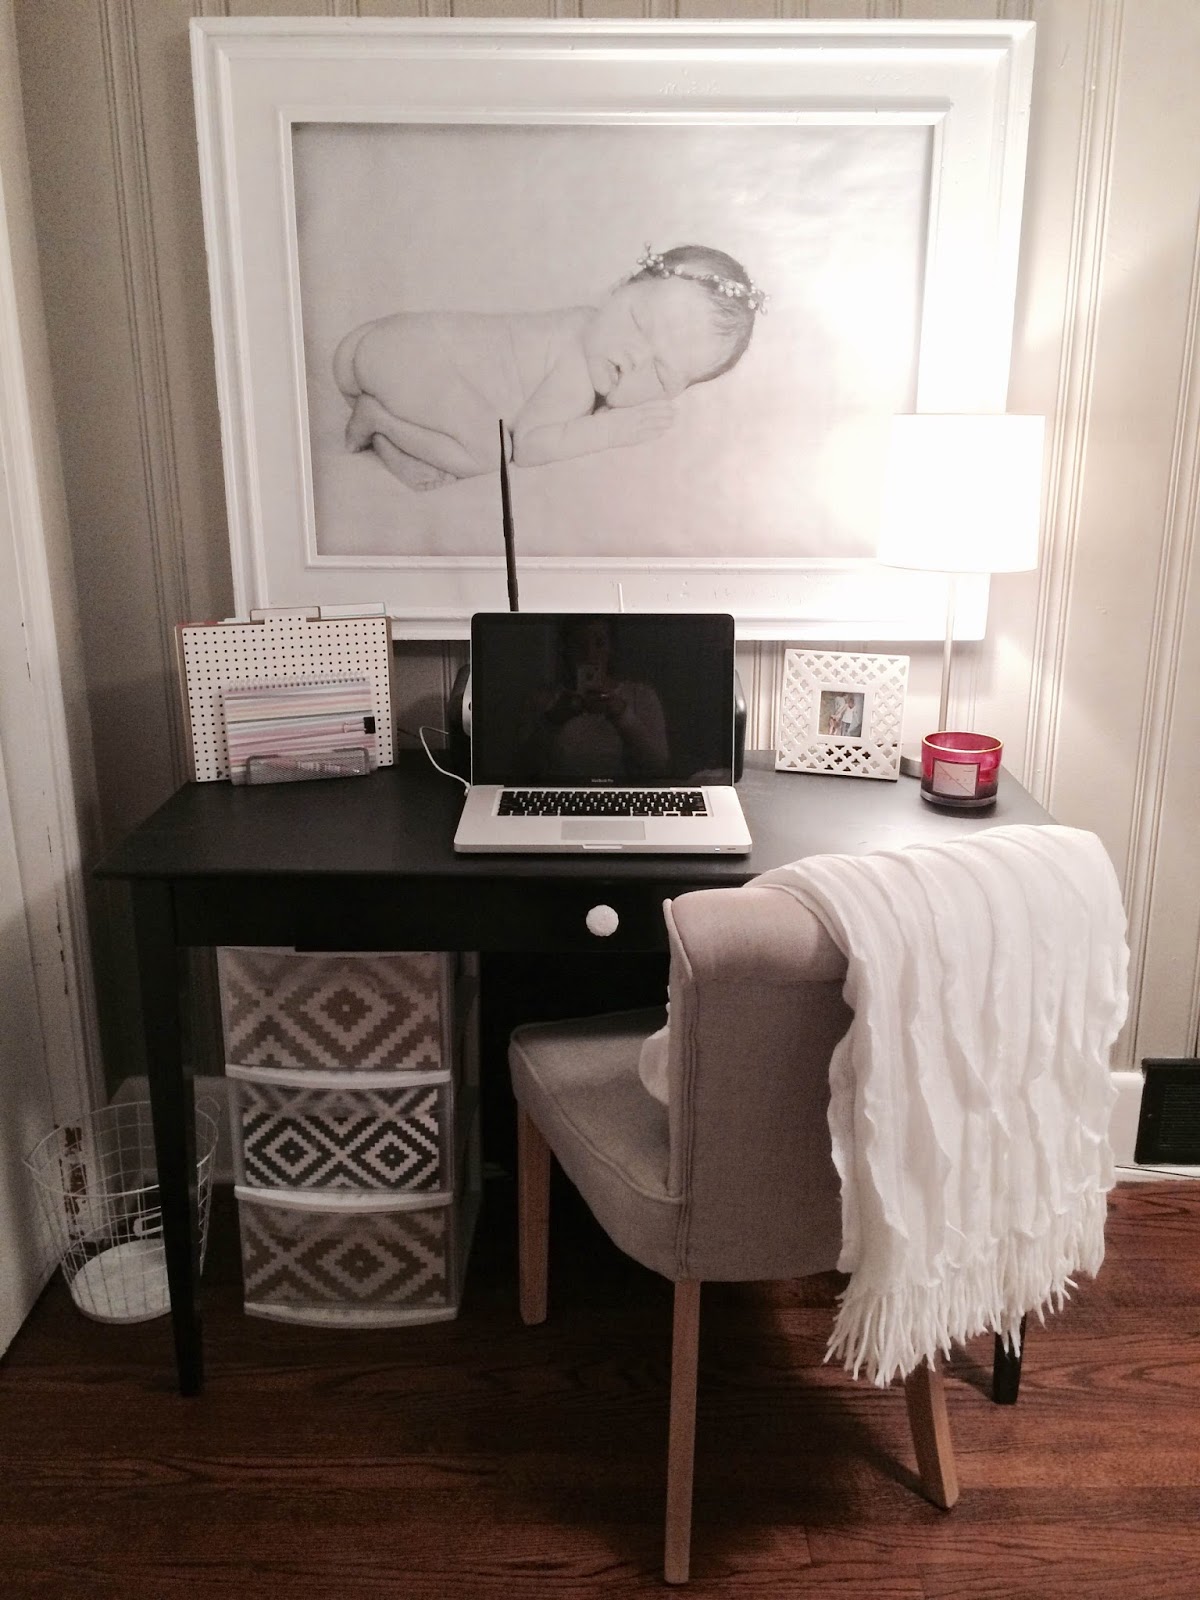